Saturday, October 1, 2011

Purslane salad

Do you have purslane growing in your garden beds? You might not know, but this highly nutritious weed might be hiding in between your vegetables. Find it, get a good bunch of it and let's make a salad.

1. Chop the tops of the bunches and then pick the leaves from the lower stems. You might chop the whole plant, but the stems are a bit tough, so these are better be used in a compost bin.


2. Use purslane as a substitute for the greens in your salad. You could use it as a nutritious addition as well. Purslane is high in Omega 3, vitamins A, B and C as well as anti-oxidants.


3. Add other non-starchy vegetables. I just harvested these cucumbers and peppers from the garden, and added a store-bought tomato. No biggie, use what you have, the more variety the better.


4. Mix it all up.


5. Optionally (but preferably) add some chopped garlic, ground flaxseed and some of the refried beans to add protein, as well as olive oil-vinegar dressing and you are done!


6. Here's the most nutritious, tasty, filling and creative salad on the face of this planet!

I hope you learn to appreciate the weed called purslane in your garden.

Tuesday, September 20, 2011

Refried Beans

This is a very simple and easy recipe, but don't be fooled, it is very tasty and versatile. I cook them from scratch, that is from dried beans, so the recipe will describe that process.

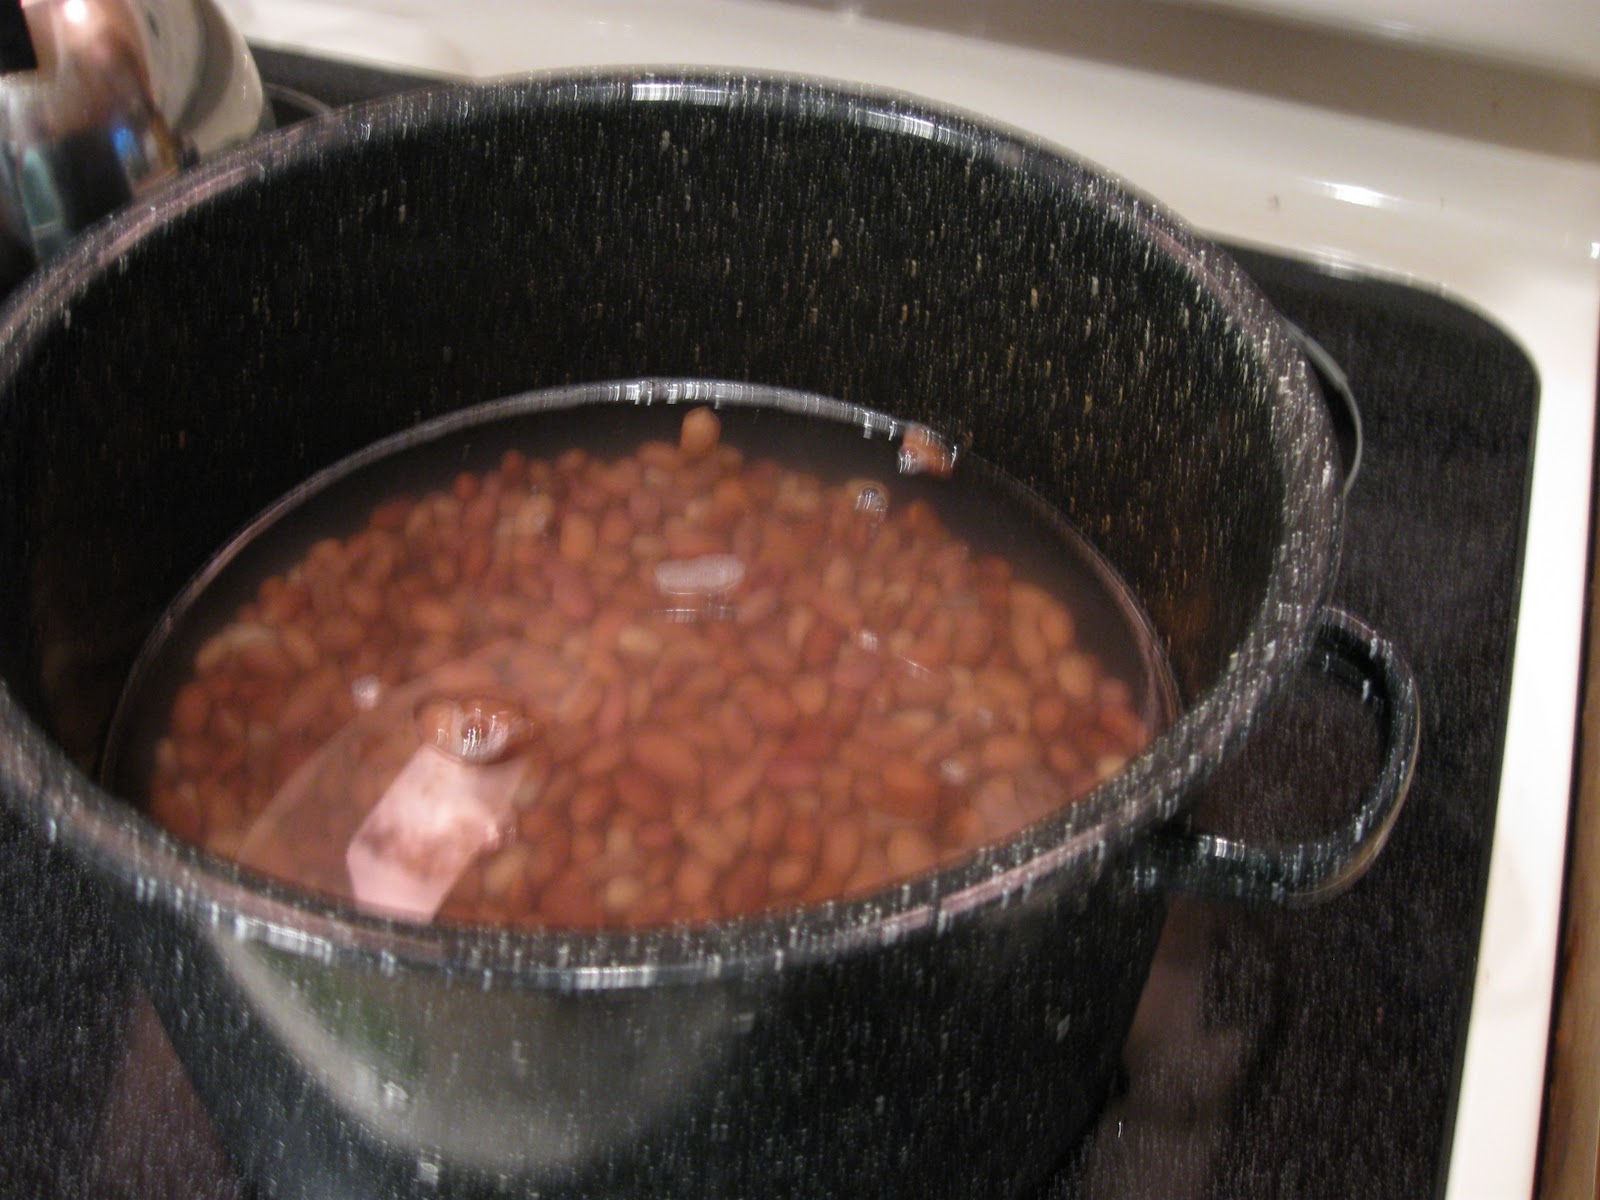
1. Soak some beans, I usually do a pound of beans, either overnight or quick soak. Quick soak involves bringing the beans to the boil, then letting them sit for about an hour, then draining the fluid and rinsing the beans with cold water. That is supposed to remove flatulence.

2. Cover the beans with two inches of water, bring to the boil and let simmer for a couple of hours or until soft.


3. When beans are cooked, chop a large onion, a couple of tomatoes and a couple of peppers (not hot chili peppers, although that would be your choice if you wish), and saute them just a little bit till tomatoes give juice:


4. Drain most of the liquid from the beans, but leave some. I would say, leave just enough that beans are sort of floating in. Reserve the liquid in case you need to add it to the beans. Then mash the beans with the potato masher or a fork just enough to get some thickness. I do not recommend to chop the beans in the food processor because you will get a hard gooey blob like you get from a can. You want a home style beans; product where actual beans are showing, not a gooey mess.


5. Get out some spices: salt, garlic powder, cumin, chili powder and cayenne:


6. Spice the beans to taste. I usually spice a lot, so the whole skillet is covered with spices, but that's a personal preference. Mix and saute until most of the liquid is absorbed, but not too dry.


Your beans are done when the mixture is uniform but still a little soupy. Do not overcook them so that the beans become too dry. It is better to let it have some soupiness in them because they will absorb extra liquid even when sitting in the fridge.

These beans can be added to salads, or can be made into a taco salad, added to bean burrito, mixed with cooked rice or just eaten by themselves. They are very versatile and keep well in the fridge for a quick meal. I usually make a large skillet like that and it lasts at least a few days. 

Saturday, September 17, 2011

Fermented cabbage

Cabbage is a perfect food. It is cancer-fighting, high in vitamins and minerals and also is low in calories. So if you are on a health kick and/or trying to lose weight, cabbage is a food for you. No wonder there is a cabbage soup diet; but cabbage in the soup is boiled, so it lost a lot of it's health benefits. Enter fermented cabbage. It is raw cabbage for all intents and purposes, but it also contains "good" bacteria, the result of fermentation, so it is sort of a double-whammy. With no further delay, let's start on the recipe.

Get yourself a large head of cabbage or two of the medium ones and shred them into a large bowl. Get a carrot or two and shred into the same bowl:


Now, start squeezing and crushing cabbage inside the bowl with your hands so it gives juice. Sprinkle salt while you are doing it. I do not have set amount of salt to use, but usually I turn the whole bowl five times and sprinkle salt around the whole surface three times. The point here is to give it enough of salt but not overdo it. If you add too much salt fermentation process will halter; we do not want that, although you will end up with some nice coleslaw, but it will not be fermented. You can taste the cabbage while you are crushing it to make sure it is just a bit salty.

Now, get yourself some glass container. I use a leftover two quart jar from pickles. Start packing cabbage into the jar with your fist. You will feel the amount of packing pressure needed: the juice should cover each layer, maybe just a little bit. Once you run out of cabbage or the jar is full, put some weight on top of the cabbage to keep it submerged under it's own juice. I use a bottle of wine for that:


And this is it. Keep it on the counter top for five to seven days. After a couple of days the juice should start foaming (if you did not overdo on the salt), and then foaming will subside. That's the time to repack cabbage into the smaller containers and put them in the fridge.

Tuesday, July 19, 2011

Roasted Okra Recipe

Some people don't like okra because it's "slimy". Here's one way to overcome that obstacle. Roasted okra. It is cooked whole so the "slimy" interior surface is not exposed. Can be used as a side dish or a snack.

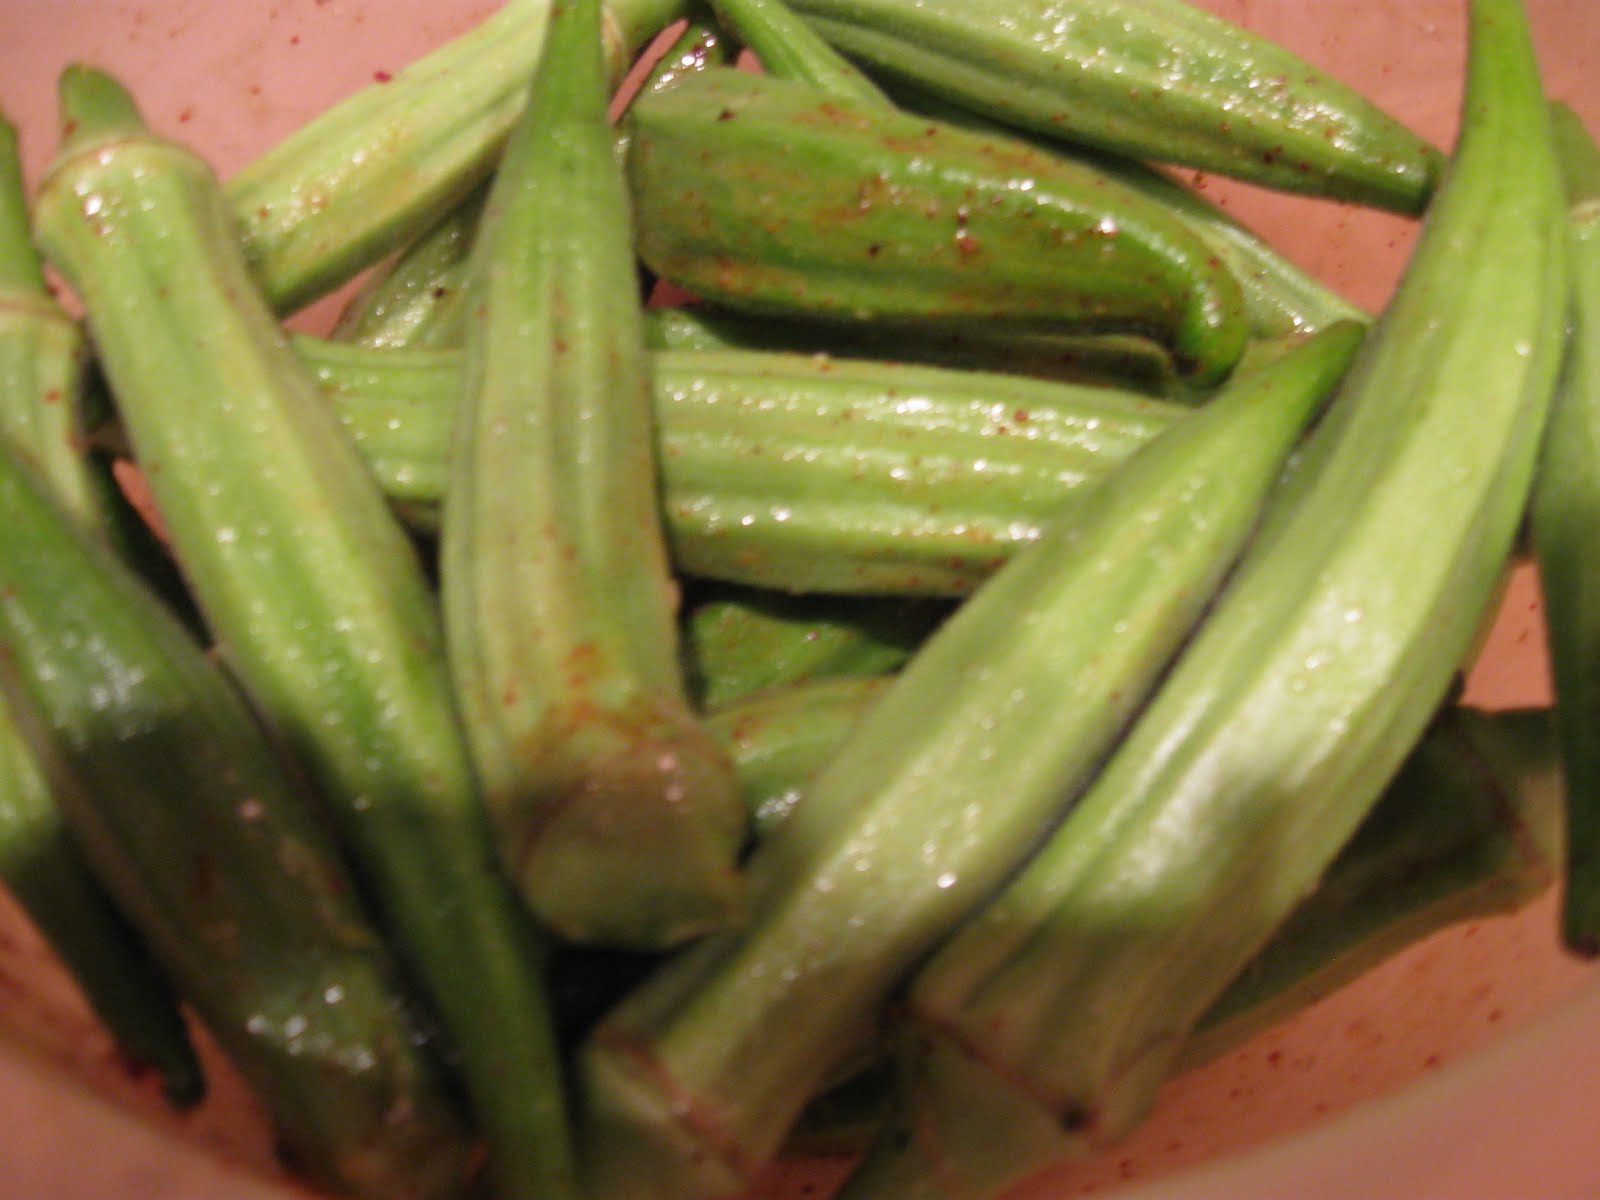
1. Get your fresh okra either from the garden where it is very easy to grow, or from the store and wash it:


Then, prepare the coating sauce: mix vegetable oil with some salt and cayenne pepper to taste. 


Shake okra with the sauce in a covered container:


Here's what coated okra looks like:


Spread okra on a roasting pan in a single layer:


Bake at 420F for about 20 minutes, turning twice or three times so it is roasted on all sides. Pictured, okra and fermented cabbage with garlic. Nutrition galore!

Tuesday, June 21, 2011

Sweet potato leaves salad

I am almost ashamed to post this recipe because it's a throw together, from whatever could be found in the garden in season. But there are two things going for this salad, first - the greens in it are alternative, not the regular lettuce greens. The reason for that is that in Florida in the summer there is no lettuce in the garden, but plenty of other non-traditional greens. Second - the salad uses eggs and cheese and therefore is a meal by itself, on the days when I don't want to cook a whole dinner. So, here it is:

1. Gather all ingredients:


In this picture there are horseradish leaves, purslane, sweet potato leaves and amaranth leaves for the green part. Sweet potato leaves and amaranth leaves are lightly blanched in boiling water, maybe for ten seconds, and then drained and cooled. The rest is: lots of tomatoes, peppers, mushrooms, onion, hard boiled eggs and cheese.

2. Chop all vegetables and eggs, shred the cheese and mix everything together:


3. Prepare the dressing. For the dressing I whisk together 4 oz of apple cider vinegar, 1/2 oz of olive oil, heaping tablespoon of prepared mustard and some cayenne and salt to taste.

Tuesday, June 14, 2011

Pizza sauce from scratch

Here's how I make pizza sauce from scratch.

1. Gather all the ingredients: tomatoes, onion, garlic, fresh herbs like parsley and basil, hot pepper (optional) and some sweet fruit, like melon or even banana. I don't use refined sugar or artificial sweeteners, so I need to add some sweet fruit to the sauce. Here's my usual ingredients for the pizza sauce:


From this picture I only used about an inch length from the pepper because it was very hot. Add salt and other seasonings to taste. Process everything in a food processor, or if you don't have one, just chop everything by hand. Put in the pot and simmer for an hour. You should see the sauce thicken as liquid evaporates:


If you were not using a food processor, you might want to press cooked sauce through the colander to reduce chunks. This is it. If you are making pizza, let the sauce cool before spreading on the dough.

Monday, June 13, 2011

Vegetarian Pizza

Once we made a no yeast, no sugar dough we are ready to cook up some pizza!

Step 1: Spread the dough on the greased pan gently pushing with your hands:


Step 2: Spread pizza sauce on the top of the dough, and then sprinkle shredded cheese over. I usually use a combination of mozzarella and cheddar cheeses:


Step 3: Layer all your fixings on the top of the cheese. I usually use diced up onion, green peppers, mushrooms and broccoli and cauliflower. I lightly steam broccoli and cauliflower prior to placing them onto the pizza:


Step 4: Put in the oven preheated to 390F and bake uncovered for 30 to 40 minutes. This is the final product ready to be devoured: